Understanding Ceramic Sculpture Armatures: Wire, Paper, and Hollow-Build Supports Compared
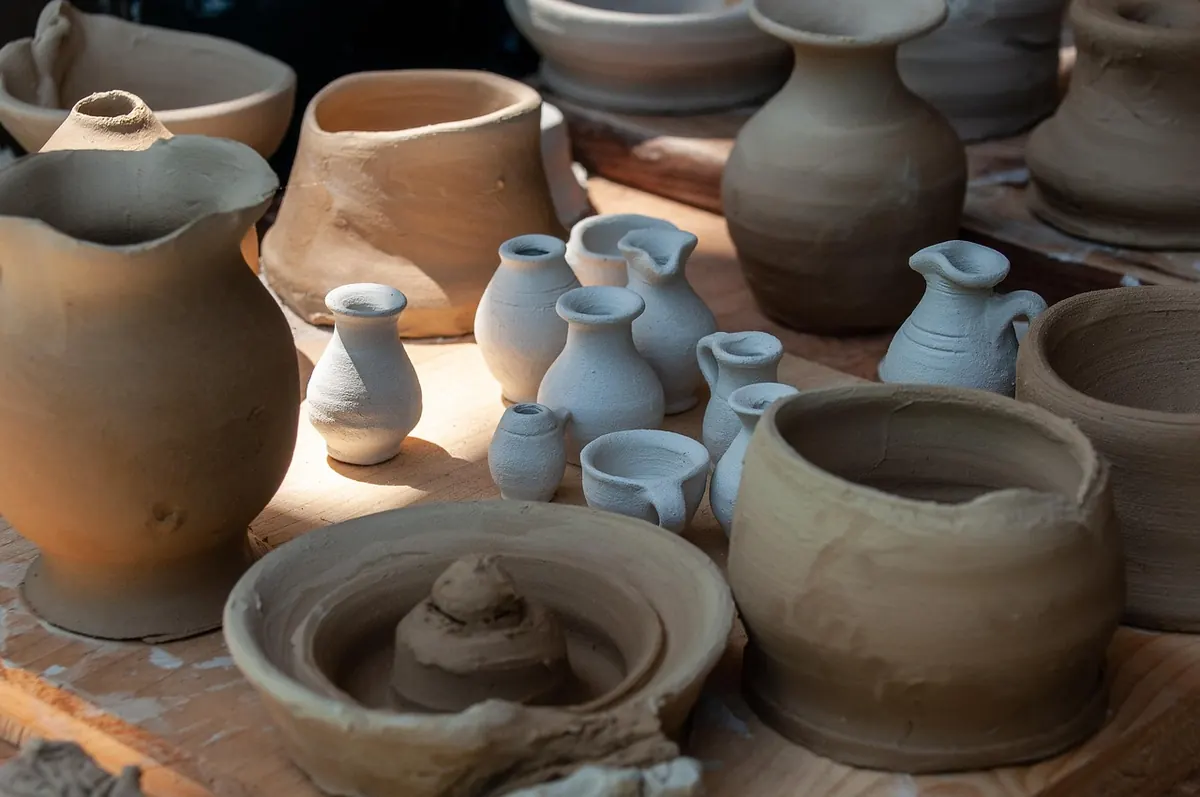
A good armature is not the one that holds the most clay. It is the one that lets the clay do its own work and then gets out of the way. That distinction matters in ceramic sculpture, where a support that feels solid in the studio can become a problem in the kiln. Wire, paper and hollow-build supports each solve a different part of the same problem: keeping a form upright while it is soft, then allowing it to dry and fire without fighting the clay.
Begin with the firing, not the sketch
Before choosing a support, decide what will happen to the piece after it is made. Will it be fired? Will it go through a shared kiln with a slow schedule? Does it need to be light enough to move without help? These questions matter more than whether the armature looks elegant on the workbench.
Clay shrinks as it dries and changes again during firing. A rigid armature does not. If clay is locked around a metal rod, the rod can restrain shrinkage or expand at a different rate. The result is often a crack that appears after bisque, when it is too late to fix. Combustible cores avoid that mismatch, but they create ash and require ventilation. Hollow builds avoid both problems, but they demand careful joining and patient drying. The method you choose is really a decision about which risks you can control.
Wire armatures: control for thin and gestural forms
Wire is the most direct way to build gesture. A few lengths of aluminium or steel wire can suggest a spine, shoulders and limbs before any clay is added. Aluminium is soft and easy to bend; steel is stiffer and holds a line with less bulk. For a small figure, wrap the joints with thin wire or paper tape, then build clay around the skeleton. You can adjust the posture as you work, which is useful when a form needs to feel alive rather than fixed.
Treat wire as temporary unless you have tested it in your clay and firing cycle. If the wire can be pulled out after the clay reaches leather hard, do it. Leave an exit path at the base or back, and twist the wire gently as you draw it out. For thin, open forms where the wire sits close to the surface, there is less risk, but it is still a risk. Avoid thick solid masses around rigid wire; that is where cracks tend to start.
Wire armatures are excellent for maquettes, animals with slender legs, and forms where you need to change direction mid-build. They are less suited to broad, weighty volumes that will be fired solid. If a piece must keep its wire, keep the wire thin, keep it away from the surface, and make a test piece first.
Paper armatures: a core that burns away
Paper armatures work on a different principle: the core is there to be lost. Crumple newspaper into the general volume, bind it lightly with paper tape or cotton string, and cover it with clay. The paper supports the clay while it is soft; during firing it burns away, leaving a hollow interior. This makes paper useful for organic volumes, torsos, heads and forms with overhangs that would be awkward to coil from the base.
Keep the paper core loose rather than compressed into a brick. Air and heat need a path through the form. Leave a small opening at the base or back so moisture and ash can escape, and build the clay wall to an even thickness. Avoid plastic tape, glossy paper and anything that melts or leaves a residue. Dense packing may seem stronger in the studio, but it can leave a weak, ashy interior and make the firing less predictable.
Paper armatures are less suited to very large work, where the volume of ash and the thinness of the clay wall become difficult to manage. They are also a poor match for forms that need a sealed interior. If you cannot give the core a way out, choose another method.
Hollow-build supports: let clay be the armature
Hollow building makes the clay itself the armature. Coils, slabs, internal walls, arches and buttresses can create a strong shell without a permanent core. The key is to keep the wall thickness even and to join each addition thoroughly. Score, slip and compress every seam. Internal walls should connect to the outer shell without sealing the piece tight; leave openings so air can move and the form can dry evenly.
For larger pieces, build in stages and let each stage firm up before adding the next. A hollow build dries more evenly than a solid mass, and it fires with fewer surprises because there is no metal or paper core to argue with the clay. It is the best choice for large figures, architectural forms and any piece where weight matters. The trade-off is time: hollow building asks for patience and a plan for access from the start.
Comparing the three methods
- Wire: choose for maquettes, slender limbs, gestural forms and temporary support; remove before firing when possible.
- Paper: choose for medium organic volumes and forms that need a lightweight core; keep the core loose, the walls even and the interior vented.
- Hollow build: choose for large, architectural or weight-sensitive pieces; build strong joins and plan access before you close the form.
None of these methods is a guarantee. A badly made wire armature can crack a piece; a paper core packed too tight can leave a weak interior; a hollow build with uneven walls can crack at a join. The method is only as good as the drying and firing that follow it.
Matching method to scale and form
A small seated figure with thin ankles is a natural candidate for wire. Build the skeleton, keep the clay thin around the metal, and pull the wire out through the base before the piece is bone dry. A broad torso with overhanging shoulders may be easier with a paper core, provided you leave a vent and keep the clay wall consistent. A standing figure at twice that size is usually a hollow build, with internal dividers and a base opening that lets air reach the centre.
Think about how the piece will be moved, too. A solid sculpture with a hidden wire core can be heavy and awkward; a hollow form is lighter but more fragile at the joins. Paper cores sit somewhere between the two. The right choice is the one that supports the form during making and then leaves the clay free to shrink, dry and fire.
Test the support before you trust it
Make two small test pieces using the same clay and the same support you plan to use. Dry them together, bisque them together, and look for cracks at the base, around the armature and at the joins. Keep notes on wall thickness, drying time and the firing schedule. If you are firing in a shared kiln, ask about ventilation for paper burnout and about any restrictions on metal. A little testing now saves a lot of guessing later.
Photo: wal_172619 / Pixabay